MILO Launches Home Court Campaign, Inspiring Parents To Help Their Kids Pursue Their Champion Journey In Sports, Even At Home

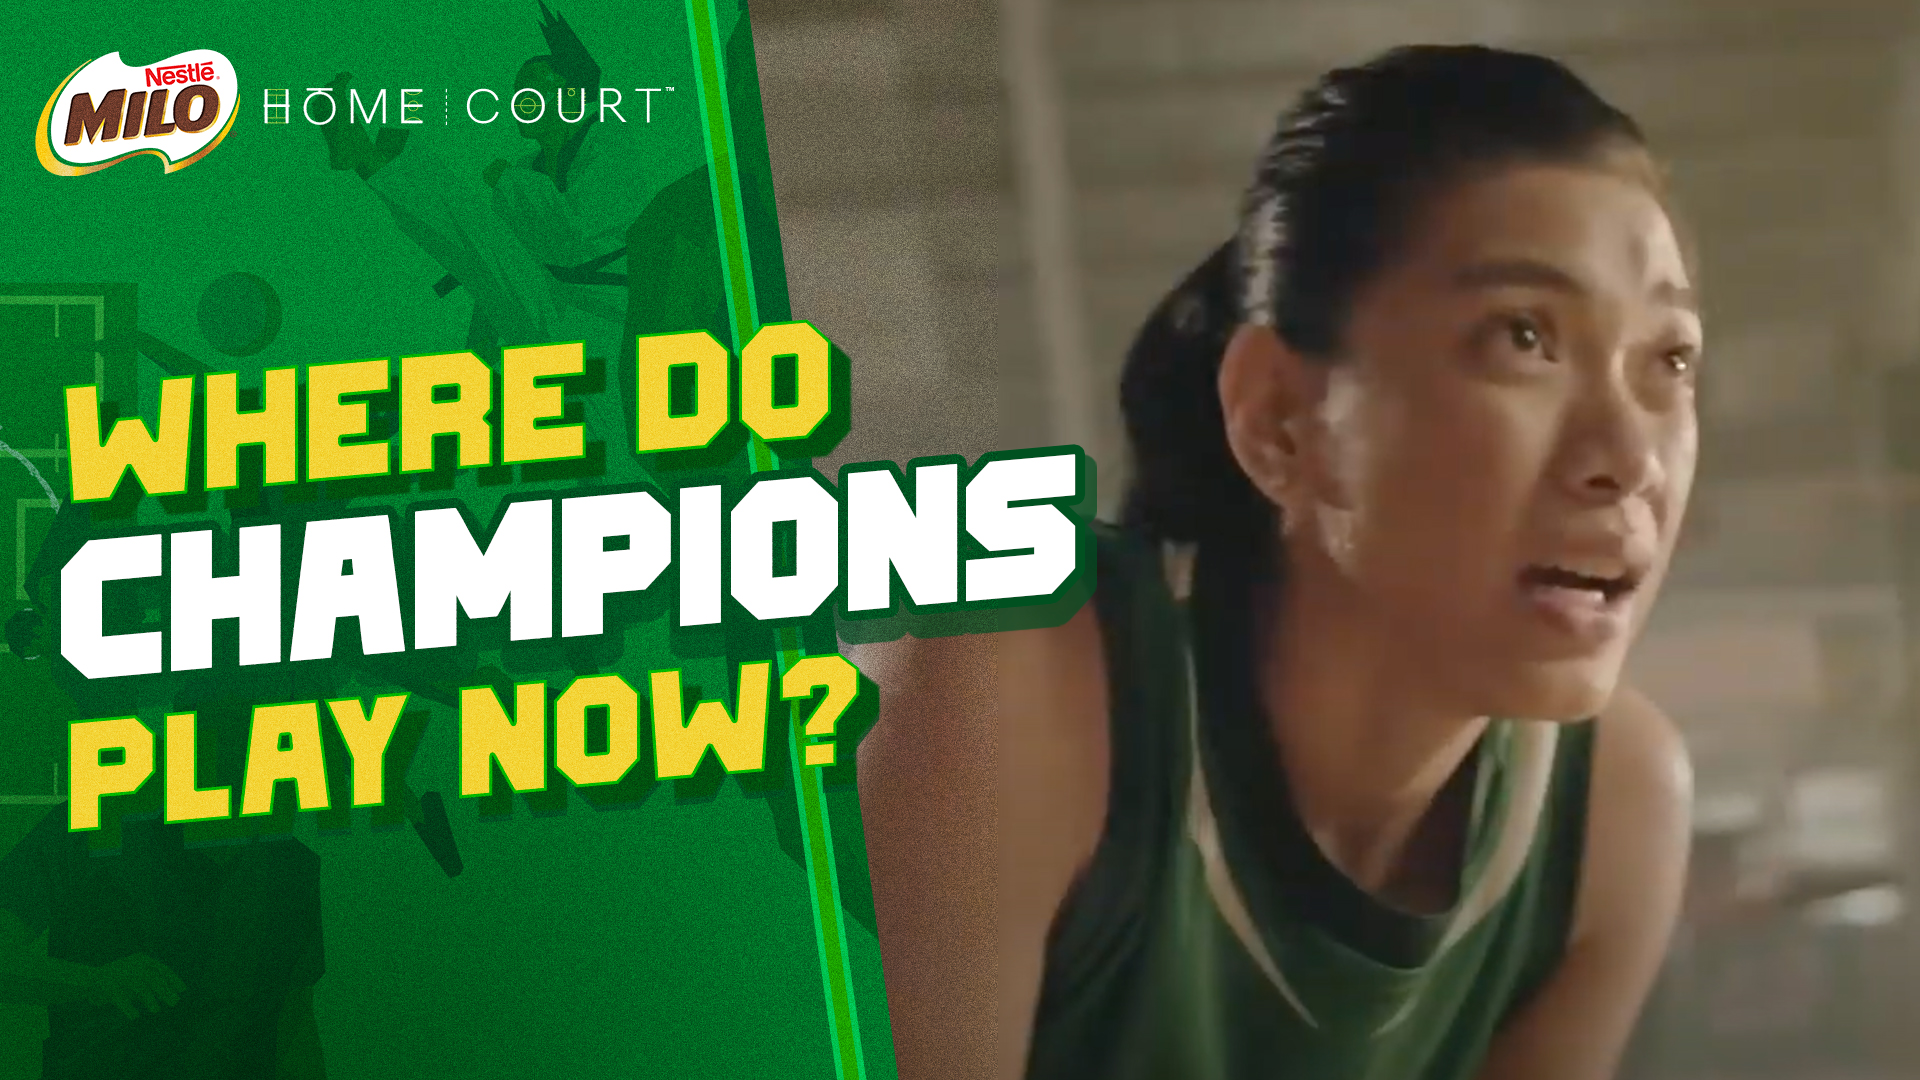
As parents continue to learn how to adjust in the new normal, they are faced with an even bigger challenge and responsibility of finding ways to keep their kids active and healthy while at home. To assist moms and dads in this hour of need, MILO has launched its Home Court campaign, providing access for parents and their kids to the resources they need to jumpstart and continue their sporting ambitions, even in the comfort of their own home. Even in these uncertain times, MILO remains committed to fueling kids’ champion journeys in sports and in life. 

Being the Home Court for kids, MILO’s newest campaign encourages parents to support their kids as their champion journeys continue even at home through online training modules, remote coaching sessions, and  creative solutions to equip parents as the new coaches of their children. 

“More than taking part in amping up their skills with online trainings, Home Court inspires moms and dads to play a more active role as coaches to their little champs,” says Nestlé Philippines Vice President Veronica Cruz. “It’s all about being fun and imaginative with them to assist their learning and growth in their respective sports, as well as keep their champion spirit strong and nurture the lifelong character-forming values that come with it such as discipline, hard work, and self-confidence.” 

Over the past few months, MILO Home Court has already launched a series of initiatives equipping parents and kids to stay active, healthy, and train like a champ. MILO Champions IG Live, for instance, featured our most prized national athletes and brand ambassadors Keifer Ravena, Alyssa Valdez, Pauline Lopez, Juan and Javi Gomez De Liaño, and Coach Rio Dela Cruz leading free workout sessions for their fans. It also introduced MILO Sports Clinics Online, a newly-introduced digital platform where kids can learn the fundamentals of basketball, volleyball, taekwondo, and gymnastics under the tutelage of professional coaches from MILO’s partner organizations—all for FREE! 

After a successful first round, MILO is now gearing up to introduce new sports to its online clinics, giving more variety and room for kids to explore what they want to pursue with arnis, badminton, karate, tennis, and football. 

Suited for kids ages 7 to 12 years old, each 60-minute session will be made available on YouTube for kids to try out in their homes for as long as 4 weeks per sport and will be done in partnership with professional coaches of MILO’s partner organizations such as Department of Education Arnis Association of the Philippines (DEAAP), Asuncion Badminton Center, Association for the Advancement of Karatedo in the Philippines (AAK), Children’s Tennis & Sports Management Inc., and coaches from FC Barçelona Barça Academy; all supported by the Philippine Sports Commission (PSC). 

“After postponing MILO Summer Sports Clinics, we’re glad that there’s still a surge of interest from parents to let their kids participate in the online version,” says MILO Sports Executive Lester Castillo. “We know how important it is to keep the champion journeys going which is why we are providing ways for them to still pursue their sporting dreams at the safety and comfort of their homes. Together with our trusted partner sports organizations and our best efforts, all is made possible in equipping our future champions.” 

Access the MILO Sports Clinics Online through this playlist: 

Through MILO Home Court initiatives and with the new MILO Champion Formula that contains more milk, packed with more Champion Energy Nutrients na PROTOMALTÒ, Iron, at Vitamins B2, B3, B6, and B12, at mas sulit dahil mas pinarami na ang isang sachet at the same suggested retail price, parents and their children are given the right energy to be creative and continue their champion journeys, even at home. 

There’s still a lot to look forward to MILO Home Court, so stay tuned to the MILO Philippines Facebook page (@milophilippines) for exciting announcements and important updates: https://www.facebook.com/milo.ph/.  

Hanabishi’s 2in1 Grinder and Coffeemaker Is a Product Worth Investing In

Enjoying freshly brewed coffee doesn’t have to be complicated. You don’t have to invest in an expensive coffeemaker to have one every day. Neither do you have to travel far or get in line. Thanks to Hanabishi, you can have it right in your own home.

Recently, the company known for its affordable and quality appliances introduced the Hanabishi 2in1 Grinder and Coffeemaker. Available for just PhP3,750, it can make four cups of coffee in one brew. You can use it for both coffee beans and ground coffee.

“To say that Filipinos love coffee is an understatement. We are proud of our kapeng barako and we are fond of exploring different varieties of coffee. It was evident with the success of coffee shops from Starbucks, UCC Café, and Coffebean and Tea Leaf in the local market,” said Cherish Ong-Chua, Vice President, Finance and Marketing at Hanabishi.

According to Ong-Chua, Hanabishi’s new product offering, the 2in1 Grinder and Coffeemaker, is an innovation that aims to bring the coffee connoisseur experience right to every Filipino’s home. However, they have simplified the functions of the machine.

Operating it is easy. Just add your coffee beans or ground coffee, pour in some water, select the setting, and your coffee would be ready in minutes. Cleaning it is just as fuss-free.

The Hanabishi 2in1 Grinder and Coffeemaker is also a good product to invest in if you’re running or looking to put up a coffee shop. It’s less expensive than most coffee makers and functions just as efficiently.

For more information about Hanabishi’s 2in1 Grinder and Coffeemaker, visit myhanabishi.com.

Creative snacks for homeschool recess

Solane_Creative snacks for homeschool recess_photo

As students prepare to take their classes online for their safety amid the pandemic, it is important to keep them fueled and motivated for school. To help boost their creativity and learning, Solane, the country’s leading LPG solutions provider, suggests smart tips for creative snacks that are perfect for study breaks:

Create fun snacks during craft-making day. Parents can bake butter cookies, cupcakes or cakes while kids decorate them with designs like the planets of the solar system or their favorite literary characters. The key is to think out of the box and prep ahead of time or during the weekend so everything is ready for a quick snack break. Doing this can help make their homeschooling experience more fun and give them something enjoyable to look forward to every week.

Have a weekly themed recess. Turn recess into an opportunity to learn something new. It can be a fun science experiment like turning milk into ice cream or it can be a short “tour around the world,” discovering different cultures through food. Serve them various cuisines as their snacks with a new country as the theme every day or every week.

Make bento boxes. Some parents struggle to make their kids eat nutritious foods. To encourage and excite the kids to eat well-balanced meals, why not make bento boxes? Utilize colorful ingredients or shape them into cute animals to make the bento box visually appetizing. Other great ideas for bento lunch sets are sushi sandwiches with sliced fruits or nori-wrapped rice sandwiches that can be made from leftovers.

Incorporate food that boost memory and concentration. Help kids get through their homeschool hours by preparing “brain food” to boost memory and concentration. Try fruit bowls or smoothies with blueberries, strawberries, kiwis and oranges. Studies show that these fruits contain vitamin C and antioxidants, which help prevent mental decline and improve communication in the brain cells, respectively. Be sure to include fatty fish like salmon, sardines, tuna, mackerel, which are rich in omega-3s for better cognition and thinking abilities.

Prepare these fun and healthy snack options suggested by Solane to help students be well and learn better. To know more, visit www.solane.com.ph.

#DIYGerifiedPH: Wooden Bar Stools

It’s been more than a year since we moved in our DIY Home and we’re still deciding what stool to get for our  kitchen island that supposed to be a breakfast nook in the morning and a bar counter in the evening.
We’ve been to different depot – online and physical stores and I tell you, I want to get this and grab that… but something’s holding us back… aside from the price tag. lol
Although I want to things done and right away, at the back of my head I know that we can do it.
Did you know? Bar stool has been around since the early 20th century, designed as a cheaper seat for people in a budget.
And now that we are in quarantine, we finally made time to plan this down and execute it. The plan was…
a bar stool that will act as a small table, too. So definitely, these bar stools will be backless.
should be wooden, to match the design of our kitchen counter and cabinets.
We originally plan to make 3 wooden bar stools but since the materials are limited due to the lockdown, we made just 2. And hopefully, will make the 3rd chair soon enough.
bar stools diygerifiedph
Bar Stool seat: 10 inches x 15.5 inches (big enough to sit a laptop on)
Bar Stool height: 29 inches
Foot rest: 11 inches from the ground
We made the furniture stronger by making the footrest 3 inch in length with half inch wide in all four sides.
We used grinder and sand paper to smoothed the surface and rounded the edges.
Finish: Varnish in natural stain.
These bar stools do complement our DIY kitchen island/breakfast nook/bar counter.
Backless bar stools are more comfortable with wider seat that accommodates the buttocks without the feeling of falling off.

Japanese Odeng/Korean Eomuk/Fish Cake Bar with Homemade Pangnyeomjang Dipping Sauce

odeng.eomuk.gerifiedph
Odeng/Eomuk
Meat:
Grind fish fillet, clean headless squid and/or deveined headless shrimp
Chop some bell peppers (green and red to make it colorful)
Add salt and pepper
Set aside
On a separate bowl,
Add egg white
Pan frying powder (I used crispy fry fish from Ajinomoto)
cornstarch
breadcrumbs
minced spring onion
pepper
Combine the grinded meat and the batter completely
Roll into a stick or sheet
Fry in medium high heat.

asian food boiled eggs container dumplings
Photo by hitesh choudhary on Pexels.com

Fish Cake Soup
Boil 1 liter of water for 20 minutes with kelp, spring onion and anchovies (guts removed)
Strain the ingredients
Add soy sauce and salt to taste
Put Odeng and other street food (crabsticks, squid balls, etc) on the soup and boil for another 3-5 minutes.
Served with Pangnyeomjang Sauce.
yangnyeomjang.gerifiedph
Pangnyeomjang dipping sauce
Soy sauce
Minced garlic
Green chili
Minced spring onion
Sugar
Paprika powder
Sesame oil
Sesame seeds

Wellness Relief: Mint Relief

We can’t go outside just yet, so when I have medical concerns and queries, I consult our family doctors and medical practitioner friends and family online.

One common thing they say about homemade remedy for stomach pain, mint.

Spearmint, aside from containing high amount of antioxidants, also helps support digestion as it contains carvone, a natural substance that strongly inhibit digestive tract contractions.

Peppermint, well known as a natural medicine to quickly reduce symptoms of stomachache for centuries. It is scientifically and historically proven effective as short and long-term treatment for stomach related issues.

Planning to add mint in our rooftop garden, but since we can’t get ourselves on fresh mint just yet and we need instant relief,

Wellness Refill’s Mint Relief is the encapsulated potion that’ll break us free from the agonizing pain of stomachache with sweaty palms, dark circles of both eyes (imagine stomach pain in the middle of the night), cold sweat and body in fatal position (in bed and in the loo), burning sensation in the gut and sometimes in the butt, too. Ahh… Sounds dramatic but when your stomach is grumbling and churning, you just want to end it, not asap but NOW. #beenthere #donethat

gerifiedph mintrelief

Mint Relief is one of Wellness Refill products. It is a fusion of peppermint oil and spearmint oil encased in a soft gel capsule. It is the only natural product available in the market that offers quick stomach relief.

Mint Relief is proven effective to dysmenorrhea, constipation, flatulence, GERD/Acid Reflux and as a short-term treatment for IBS (short for Irritable Bowel Syndrome which include lactose intolerance), dyspepsia, ingestion, and bloating.

Since Mint Relief is also an anti-emetic supplement, it can also help in nausea and vomiting including

sea-sick illness from constant frequent motion of either a boat or car,

altitude sickness caused by ascending to a high altitude, aside from the ear-numbing, it also results to shortage of oxygen, characterized by hyperventilation and nausea, from plane taking off or hiking up mountain,

and early morning sickness for pregnant women. Yes! It is safe for both pregnant and lactating moms.

Best part, it’s

Vegan
Gluten-free
Certified Halal

After learning about Mint Relief, our vehicle’s first aid bag and emergency kit at home will now include Mint Relief in our medical stash.

Get your hands to instant relief now,

Visit Wellness Refill Official Website: www.wellnessrefill.com

Official Facebook Page: www.facebook.com/wellnessrefill

Official Instagram Page: @WellnessRefill

#DIYGerifiedPH: Bathtub

Pinag-isipan at pinagdebatihan namin kung bathtub, sauna, o swimming pool ang idi-DIY namin sa CasaPolonPH.

Note: Ang pagpili naming ito ay nakabase sa mataas na chansa na ma-execute namin ang DIY with minimal to zero fail (fool-proof kumbaga), mamaximize ang usage with little to very little, almost-none-cash-out for maintenance, at higit sa lahat, nakabase Ito sa kapasidad naming magbayad ng utility bills like water and kuryente. 😂

Sauna – madaming magandang benefits but not practical for us and mainit na sa Pilipinas, mas madalas gusto namin marefresh from the heat, not the other way around. Malakas sa kuryente ang heater at medyo challenge magseal ng heat and mag-airvent. The least we could do na mala-DIY-sauna e magsuob ng halamang gamot like boiled bayabas or suha leaves sa kaserola, almost same effect din – remove toxins through sweat.

Swimming Pool – Hindi lap-pool ha. Tipong 3-4ft children’s pool lang sana, sapat na. Tampisawan. Swimming pool talaga ang bet ko. Ang dami ko ng ideas. We could use half of a small container van, concrete hollow blocks with water proofing, even powder-coated or glass-fused to steel plates with special connections, etc. Gusto ko pa bean shape, o dikaya infinity pool nadatingan kaso madami kaming concerns:

1. safety ng mga batang sabik sa tubig (wala yatang batang hindi ganito)
2. accessories like pump, valves etc
3. maintenance like chlorine for water, tile cleaning and pump room maintenance na kailangan ang
4. specific technical know-how up to the smallest details like type of screw/gauze/bolt to which part to be connected and how to properly lubricate it in an specific cycle and where to get them when they wear and tear

Wala naman kaming lifeguard slash maintenance crew para sa pool, in short, kami lahat, at ako daw ang magkikiskis ng tiles para hindi lumutin! For no logical reason, naiimagine ko nag-i-scrub ng tiles using toothbrush! 😁Ano ba! 😂

bath bathroom bathtub indoors
Photo by Burst on Pexels.com

Eh gusto ng mga bata (ko) talaga, so bumili na lang kami ng 8ft x 3ft inflatable pool with water cleaning system (will share in another post)

Tampisawan, check
No additional gastos, check
No cash-out maintenance, check

Win-Win-Win!

I learned na hindi porket gusto mo I-DIY eh idi-DIY mo sya, you really have to sit down and “calculate” if it’s worth your effort and resources. Kung 4-6ft na pool mas sulit ang hassle, pero for tampisawan lang twing Summer, dun tayo sa portable pool! 😙

Eto na!

How CasaPolonPh Bathtub was made possible:

Noon, pangarap naming mag-iina magkabathtub. Parang ang exciting isipin na naka-plastic cup ung buhok, may pipino ka sa mata habang nagbababad sa suds with floating red rose petals, and matching aroma candle, moscato and current favorite read sa paddle top. Very relaxing! 😌

Bathtub – kapag hindi nakaset up ang pool, wala ng tampisawan. So ito ang solusyon sa mala-sirena naming desire! 😁

Easy to maintain – in terms of square foot, mas mabilis linisin ang bathtub (isheshare ko din next time kung anong gamit ko para squeaky clean and shiny!)

Safe sa kids – ilock ko lang ang t&b, hindi ko na iisipin na baka may nagtatampisaw na pala na walang pahintulot ng magulang!

Bath bombs para sa adult (sa akin!😂)- aside sa posh old fantasy ko, bath bombs din talaga isa sa reasons why I want to have one. Finally, makakapagbath bomb na ako! Mababaw pero aliw ang sizzle!

Rubber ducky para sa mga bulilit – bathtub pantasya kids edition 😄

Sa versatility, it can be an extra water storage sa panahon ng El Niño

or extra bed sa panahong sobra ang sleepovers.😂

Cheapest option among the three din.

DIY executable!

Bonding time namin ang magdepot-hopping para mag-canvass. Alam na namin saan may murang architectural finishes materials like pebbles, wooden doors, tiles, skim coat, paints, etc pati brands na exclusively carried ng bawat depot (that I will share din soon!♥️)

At syempre, kasama na dyan ang bathtub.

Ang Price ng bathtub is actually dependent on the accessories and features included in it. Also,

May 5 klase ng bathtub:
batsya sa bata,
drum sa matanda, 😂 (natry ko yan!)

Plastic (nagbabakbak kalaunan), Ceramic (pwede magcrack o mabasag) at Cast Iron (prone sa yupi).

Ang isa naming kinonsider, ung ma-maximize ang space ng master’s t&b na hindi naman mabibitin sa pagbababad sa bathtub dahil hindi ka nangangawit.

Saktong sakto ang sukat na 1.7m x 0.90 m. May leg room and space for aquatic (kahit hindi) toys sa mga kids. Cast iron naman napili naming klase dahil kahit na prone sa yupi during transport and installation, (basta maingat wala namang problema), cast-iron bathtub has longer heat retention din, sulit ang pagbababad! 🛀🏼

Sa pag-iikot namin, usual bathtub price ranges from 12k to more than 150k (ito na yung tipong kasya 3 at May pa-hagdan, hand railings, jacuzzi bubble, water jet effect, and rain shower sa ulo, tagiliran, at likod, kulang na lang magsama ng tagahilod! 😂).

May napusuan na, 15k all-in. Pero sa twing pupuntahan na namin for purchase, laging sarado/pasara na kahit 4:30-5:00pm pa lang. So napilitan kaming humanap na lang sa iba..

Until we found a 1.7m x 0.9m cast iron bathtub sa #HMRPhilippines for only Php7,000.00 and naka-sale kaya Php5,000.00 na lang! Ang catch lang nito, as is, walang accessories.
We just made sure na universal ang size ng mga butas. Super Sale sila that time, and upon check out, naka-automatic 50% slash off pa sa current tag-price ang bathtub na ito!

Bathtub for Php2,500.00! 😱😱😱

bathtub diygerifiedph

Sa depot kami nagpurchase ng accessories for Php2,500.00 din, all in all material cost, 5k! Sobrang cheap pa rin compared sa napusuan naming 15k all-in, at original price niya na 7k without accessories.

Isang legend ang #DIYBathtub namin! 😁

#DIYGerifiedPH: Kitchen Wall

Isa sa mga goals ng aming #DIYHome is to build something na wala masyadong construction waste.
Pressured ako sa time habang pinag-iisipan kung anong design ng #CasaPolonPH kitchen wall ang maganda kung ang Pwede ko Lang gamitin ay mga scrap tiles.
Iba’t ibang Design tiles na pinagtabasan, in short tira -tira, mga ipapahauling ulit para itapon sa landfill. 😱
Sa Design na Ito, sinigurado namin na kahit iba-iba ang haba at style ng mga tiles, pare-pareho ng kapal, 6 inch thickness.
Kinapalan talaga namin para malinis tignan at makatipid din sa tile grout (ito yung parang clay sa pagitan ng tiles).
Hindi na namin ginamitan ng tile cutter ‘to, grinder Lang na may superthin diamond cutting disc. 😊
kitchen wall diygerifiedph
Binuo Ito parang puzzle na ang rule alternate ang magkakaparehong tiles.
And the result, tagumpay ulit kami ni #MotherEarth
✔️ isa na namang unique art piece. 😍😍😍
✔️ Nakatipid kasi hindi bumili.
✔️ #zerowaste dahil walang tinapon na tiles. ☺️
Hindi kailangang bilihin lahat, basta may creative thinking and positive mindset.

#DIYGerifiedPH: Window Grills

Window is defined as an aperture or opening in a door or wall that allows the passage of light, sound and air. Windows, when placed right gives ample sunlight and moves air around the room.

green plant beside window
Photo by Ravi Kant on Pexels.com

Some designs incorporate grills on the window case, but for modern windows, which is mostly sliding aluminum glass with built-in screen and easy-to-remove (for maintenance purposes), you also have to install window grills solely for the protection against possible intruders breaking into your home.

Just like how you should think about the best location of your windows, you should also think through and consider the proper window grills that will give utmost protection.

Avoid using the wrong materials, and be cautious on the strength of your wall before proceeding. In this DIY, we use another batch of excess 12mm diameter steel bars.

After choosing the material, we draft a design. Our design focuses on these things:

  1. To prevent falling when leaning on the windows
  2. To prevent entry from the outside
  3. To still be able to open and clean the sliding glass window (aluminum sliding windows are easy to lift and remove from its casing for easy maintenance but rendering easy access in)
  4. To still tend the pocket garden outside the glass window (window plant-box to grow live shrubs and flower plants)
  5. To use the window as an exit in case of emergency (in the plant-box area)
  6. To facilitate window curtains (for aesthetic purposes)

In choosing a design, we have to make sure that we

  • Space the bars close enough so intruders can’t enter from the outside
  • But without blocking the view too much
  • Apart from the measurement, the color of the grills should also match the color of the window frames

DIYGerifiedPH Window Grills

Powertools:
Welding Machine
Drill
Angle Grinder

Materials:
12mm diameter steel bars
welding rods
drill bit
8 pcs 3” long 1 1/2” x 1 1/2” x 3/16” angle bar

Measure window.
Extend the length 4 inches from the perimeter.
Design your grills – use slants, curves and shapes according to your taste.
The only rule while designing your patterns is that it should not allow the size of a head to come through.
Spot weld the previously cut angle bars in the 4 middle and 4 corners of the grill.
Screw the grills in place.

The first window grill is fix and the second have a “door” for plant box access, this can also be used as exit during emergency.

You can spot weld a hook on each top corner as provision for curtains.

Do not waste your hard-earned money by installing defective or incorrect grills, if you haven’t got the time, ask for professional help.

#DIYGerifiedPH: Spiral Staircase

We choose to get a spiral staircase for our minideck because we want to maximize the space on the 3rd level and also to have extra place where we could hang some of our hanging plants.

Spiral staircases have a small footprint design as it builds on top of itself, it doesn’t extend passed the diameter of the structure.

We got our desirable diameter and manually bend the hand-railing – this is the hardest part of this DIY but it’s worth it.

spiral staircase diygerifiedph

Pipe is 1 inch diameter, schedule 40. It should be thick enough so it won’t deform when bending.